
How to print it properly
Everything on this page is also inside the PDF you receive with your order. It is here as well so you can read it before you buy, and find it again later without digging through your email.
Three things and you are done
If you read nothing else on this page, read these. They prevent almost every printing problem we are asked about.
-
1Match the ratio, not the size Find your frame’s ratio, print that file. The same 2:3 file prints correctly at 4×6 inches or 24×36 inches.
-
2Turn off “fit to page” This one setting causes most bad prints. It quietly shrinks your artwork and leaves uneven white borders.
-
3Use proper paper Ordinary copier paper makes good artwork look cheap. Matte photo paper costs very little and changes everything.
Which file do I print
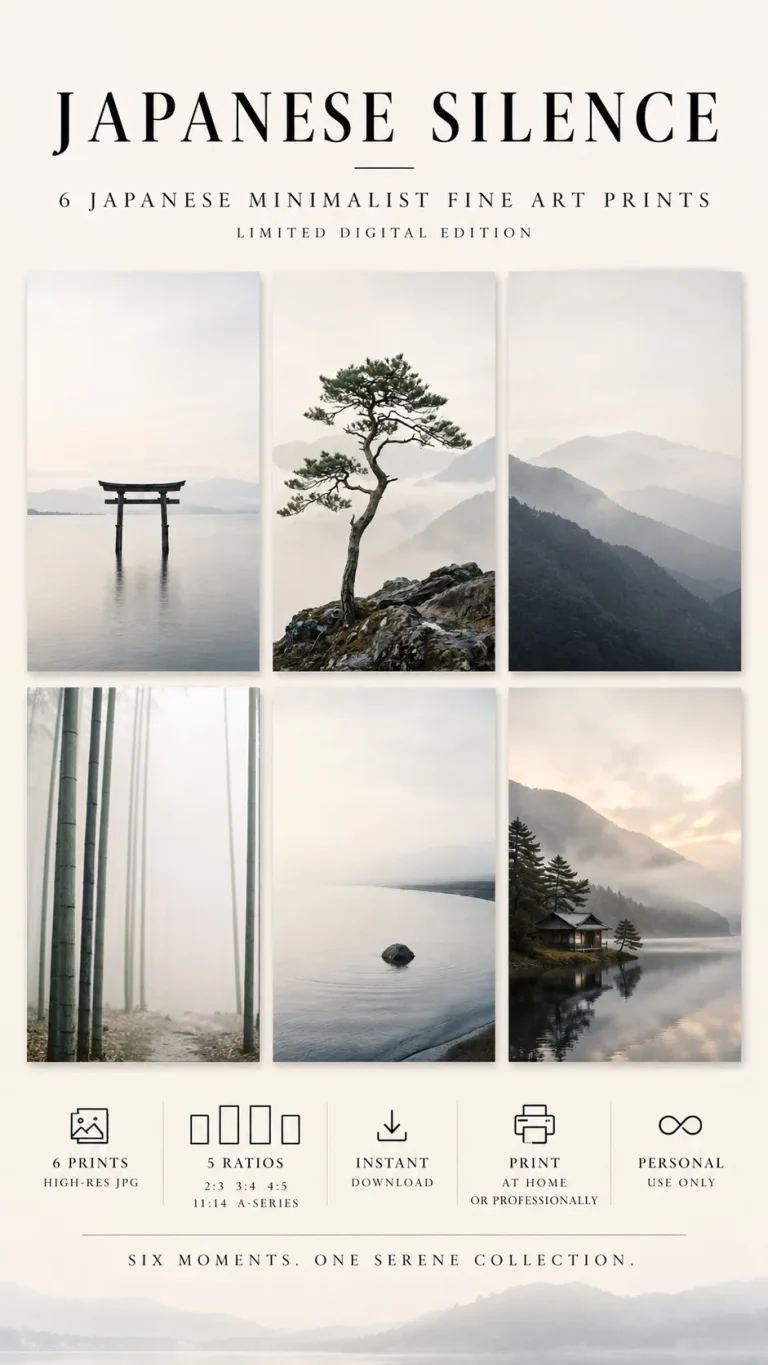
Your download contains the same artwork in five ratios. You only print one of them. This table tells you which.
| Ratio | Long side divided by short side | Frame sizes it fits |
|---|---|---|
| 4:5 | 1.25 | 4×5, 8×10, 12×15, 16×20 inches 10×13, 20×25, 30×38, 41×51 cm |
| 11:14 | 1.27 | 11×14, 22×28 inches 28×36, 56×71 cm |
| 3:4 | 1.33 | 6×8, 9×12, 12×16, 15×20, 18×24 inches 15×20, 23×30, 30×41, 38×51, 46×61 cm |
| ISO A | 1.41 | A5, A4, A3, A2, A1 The standard everywhere except North America |
| 2:3 | 1.50 | 4×6, 8×12, 12×18, 16×24, 20×30, 24×36 inches 10×15, 20×30, 30×46, 41×61, 51×76, 61×91 cm |
Not sure which one your frame is
Measure the opening, not the outside of the frame. Divide the long side by the short side, then find the closest number in the table above.
Example: 40 cm long, 30 cm short. 40 divided by 30 = 1.33, so print the 3:4 file.
One honest warning. 4:5 and 11:14 are very close together, 1.25 against 1.27. If your measurement lands between the two, print 4:5. It is the more common frame size and the difference over a 40 cm print is about half a centimetre, which your mount will cover.
The settings that actually matter
Printer dialogues differ, but these five options exist in nearly all of them under some name. Set these and ignore the rest.
-
Scale: 100 percent Sometimes called Actual size or Custom scale. Never Fit to page, Shrink to fit or Scale to media. This is the single most important setting.
-
Paper size: match your paper If you loaded A4, choose A4. If you loaded 8×10 photo paper, choose that. Do not leave it on Letter out of habit.
-
Orientation: match the artwork Portrait for a tall design, landscape for a wide one. Getting this wrong is why a print comes out with huge margins.
-
Quality: best or photo Draft mode saves ink and ruins the result. On a photo paper setting the printer lays ink down more slowly and more densely.
-
Borderless: only if you want it Borderless crops a few millimetres off every edge. Our designs allow for it, but if you are framing with a mount you do not need it.
-
Let it dry Photo paper stays wet longer than it looks. Give it thirty minutes flat before you touch the face or put it under glass.
Do this
- Print one test copy on ordinary paper first, to check the size and orientation
- Hold that test page inside your frame before committing to good paper
- Open the PDF on a computer rather than a phone, the link is easier to use
- Print from the JPEG itself, not from a preview window or a web browser
Avoid this
- Fit to page, shrink to fit, or any automatic scaling option
- Resizing the file yourself in an image editor before printing
- Screenshotting the artwork, a screenshot is a fraction of the resolution
- Printing a small ratio file at a large size, use the ratio meant for it
Which paper to use
Paper changes the result more than the printer does. A modest printer on good paper beats an expensive printer on copier paper.
- Matte photo paper No glare, deep colour, and it looks like a gallery print rather than a photograph. Forgiving of fingerprints. Around 200 gsm or heavier. Our recommendation
- Satin or lustre A slight sheen, a little more punch in dark areas. A good middle ground if your design has deep blacks or strong photography.
- Heavy cartridge or art paper Textured, matte, and the most expensive-looking option. Best for line art and simple designs. Ask a print shop for 250 gsm or above.
What gsm means, briefly
Grams per square metre, the weight of the paper. Ordinary office paper is 80 gsm and feels flimsy in a frame. Anything from 180 gsm upwards feels like a real print. Above 250 gsm some home printers struggle to pull the sheet through, so check what yours accepts before buying a large pack.
Using a print shop
Anything above A3 is better done by a shop anyway. Take the file on a USB stick or email it to them, and say this.
“I would like this printed at [size], at 100 percent scale with no resizing and no cropping, on matte photo paper, 200 gsm or heavier.”
That sentence covers everything a print shop needs. If they ask about colour profile, the files are standard sRGB, which is what they expect by default.
Two things worth checking with them
Ask them not to auto-adjust the colour. Some shops apply automatic correction meant for holiday photographs, which can shift the tones of a designed piece.
Ask about bleed if you want borderless. If you want the artwork to reach the very edge with no white margin, tell them, because they may need to trim it and will want to know before printing.
We keep a list of tested online printing services for the United States, Canada, the United Kingdom, Europe and Australia on the How it works page. Every one of them prints and ships inside its own region, so you avoid customs charges.
If something looks wrong
Nearly every printing problem has one of these six causes.
There is a white border I did not expect
Your scaling is set to fit to page. Set it to 100 percent or Actual size instead, and print again.
If you want no border at all, your printer needs a borderless option and paper it supports. Most home printers can only do borderless on certain paper sizes.
Part of the design is cut off
Usually the wrong ratio for the paper. If you print a 2:3 file onto A4 paper, which is 1.41, something has to give.
Print the ISO A file on A-series paper, and the inch ratios on inch-sized paper.
The print looks blurry or pixelated
Three usual causes. You printed from a preview window rather than the file itself, you saved a screenshot instead of downloading, or you enlarged a small ratio file to a big size.
Every file is 300 DPI at its full size. Download the original again from your link and print that.
The colours look different from my screen
Screens emit light and paper reflects it, so a print will always look slightly softer than a bright screen. That is normal and not a fault.
Large shifts usually mean the printer is on a plain paper setting while you are using photo paper, or the shop applied automatic colour correction. Both are fixable, just ask them to turn it off.
The artwork is smaller than the paper
Deliberate, if you chose a paper size larger than the ratio you printed. Otherwise it is scaling again.
A small margin is not a problem when framing, because the mount covers it. If you want the artwork to fill the sheet, print the ratio that matches your paper.
My download link does not work
Your link does not expire. If it is not opening, check you are opening the PDF itself rather than a preview in your email app, and try a computer rather than a phone.
If it still fails, message us with your order number and we will send it again. We answer within one working day.
Tell us and we will sort it
Send us the size of your frame and we will tell you exactly which file to print. If a file is genuinely faulty we will fix it or refund you. We answer within one working day.